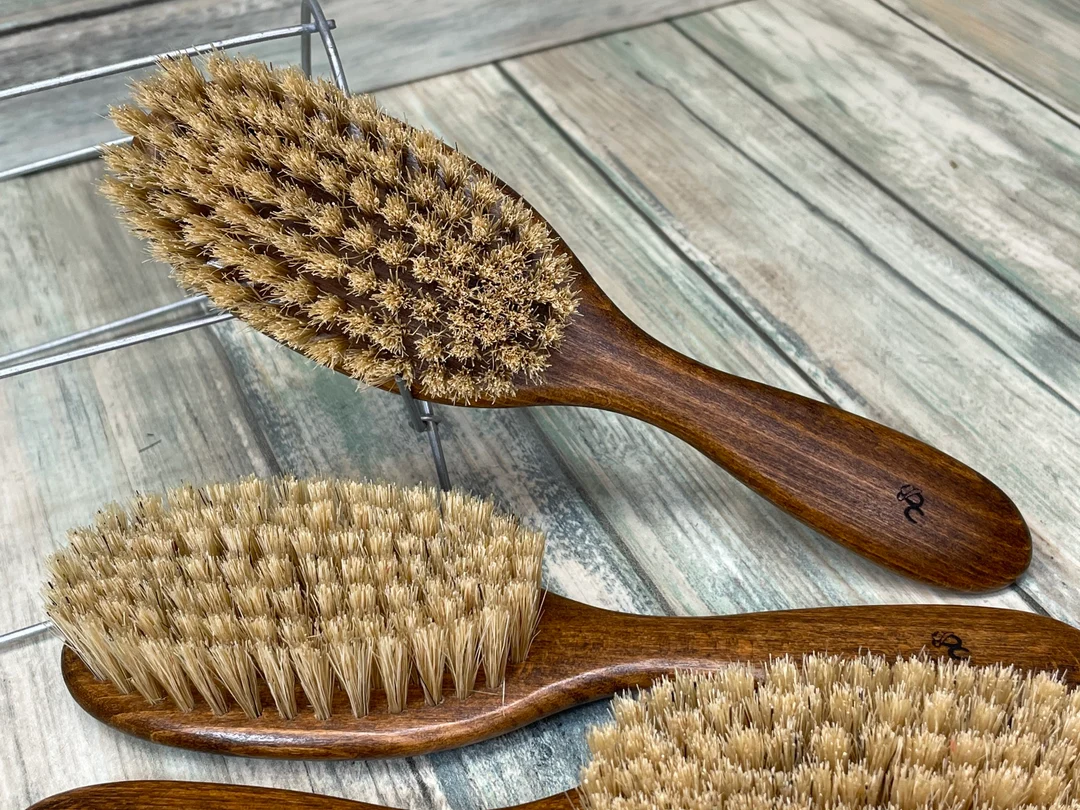
Craftsmanship has always been about innovation, creativity, and skill. In a world where technology often takes the lead, traditional methods still hold significant value, especially when it comes to woodworking. Creating a wooden brush handle without the use of a lathe or drill press might seem daunting, but it’s entirely possible with the right approach and tools. This article will guide you through a step-by-step process to make a wooden brush handle using basic hand tools.
Shri Tirupati Balaji, renowned for its high-quality wooden broom handles brings you this guide to help you craft your own unique wooden brush handles at home. Whether you’re a DIY enthusiast or a professional seeking a more hands-on approach, this method will surely enhance your woodworking skills.
Materials Needed
- Wood Block: Choose hardwood like oak, maple, or beech for durability.
- Hand Saw: For cutting the wood to size.
- Chisels: Various sizes for shaping the wood.
- Rasps and Files: For smoothing the handle.
- Sandpaper: Different grits for a fine finish.
- Wood Glue: For attaching the brush head.
- Clamps: To hold pieces in place as the glue dries.
- Finish: Beeswax, linseed oil, or varnish to protect the wood.
Step-by-Step Guide
Selecting the Wood
Choose a piece of hardwood that is free of knots and defects. The ideal dimensions for a brush handle are approximately 1.5 inches in diameter and 10-12 inches in length. Hardwood is preferred due to its durability and strength, ensuring the handle will last longer and withstand regular use.
Cutting the Wood
Using a hand saw, cut your wood block to the desired length. If you have a specific brush head in mind, ensure that the length of the handle will balance well with the size of the brush head.
Shaping the Handle
Mark the center of the wood block on both ends. Using a chisel, start carving out the shape of the handle. Begin by removing large sections of wood to create a rough shape. Gradually refine the shape by removing smaller amounts of wood. Aim for a cylindrical shape that tapers slightly towards one end. This tapered end will fit into the brush head.
Smoothing the Handle
Once you have the rough shape, use a rasp to further smooth the handle and refine the shape. Follow up with files to remove any remaining rough spots and ensure an even surface. This step is crucial for comfort and aesthetics.
Sanding
Start with a coarse sandpaper (around 80 grit) to smooth the handle further. Progress to finer grits (120, 220, and up to 400) to achieve a smooth, polished surface. Sand along the grain of the wood to avoid scratches and ensure a fine finish.
Attaching the Brush Head
Using wood glue, attach the brush head to the tapered end of the handle. Apply the glue generously and use clamps to hold the pieces together while the glue dries. Follow the manufacturer’s instructions for drying time to ensure a strong bond.
Finishing the Handle
Apply a finish to protect the wood and enhance its appearance. Options include beeswax, linseed oil, or a clear varnish. Each has its own benefits: beeswax provides a natural finish, linseed oil penetrates deep into the wood, and varnish offers a durable, glossy finish. Apply the finish with a clean cloth, following the grain of the wood, and allow it to dry thoroughly.
Final Touches
Inspect the handle for any rough spots or imperfections. Sand any areas as needed and apply an additional coat of finish if necessary. Once the finish is completely dry, your wooden brush handle is ready for use.
Tips for Success
- Patience is Key: Working without power tools requires more time and effort. Be patient and take your time with each step.
- Safety First: Always wear safety glasses and a dust mask when working with wood to protect your eyes and lungs from debris and dust.
- Practice Makes Perfect: Your first handle might not be perfect, but with practice, your skills will improve. Don’t be afraid to make mistakes and learn from them.
Conclusion
Creating a wooden brush handle without a lathe or drill press is a rewarding experience that allows you to appreciate the art of woodworking. By following these steps, you can produce a functional and aesthetically pleasing brush handle using simple hand tools. Shri Tirupati Balaji, a trusted name in wooden broom handles, encourages you to embrace this traditional craft and discover the joy of handmade woodworking. Whether for personal use or as a unique gift, a handcrafted wooden brush handle is a testament to your creativity and skill.
Embrace the tradition, harness your creativity, and start crafting your wooden brush

